
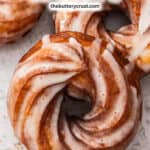
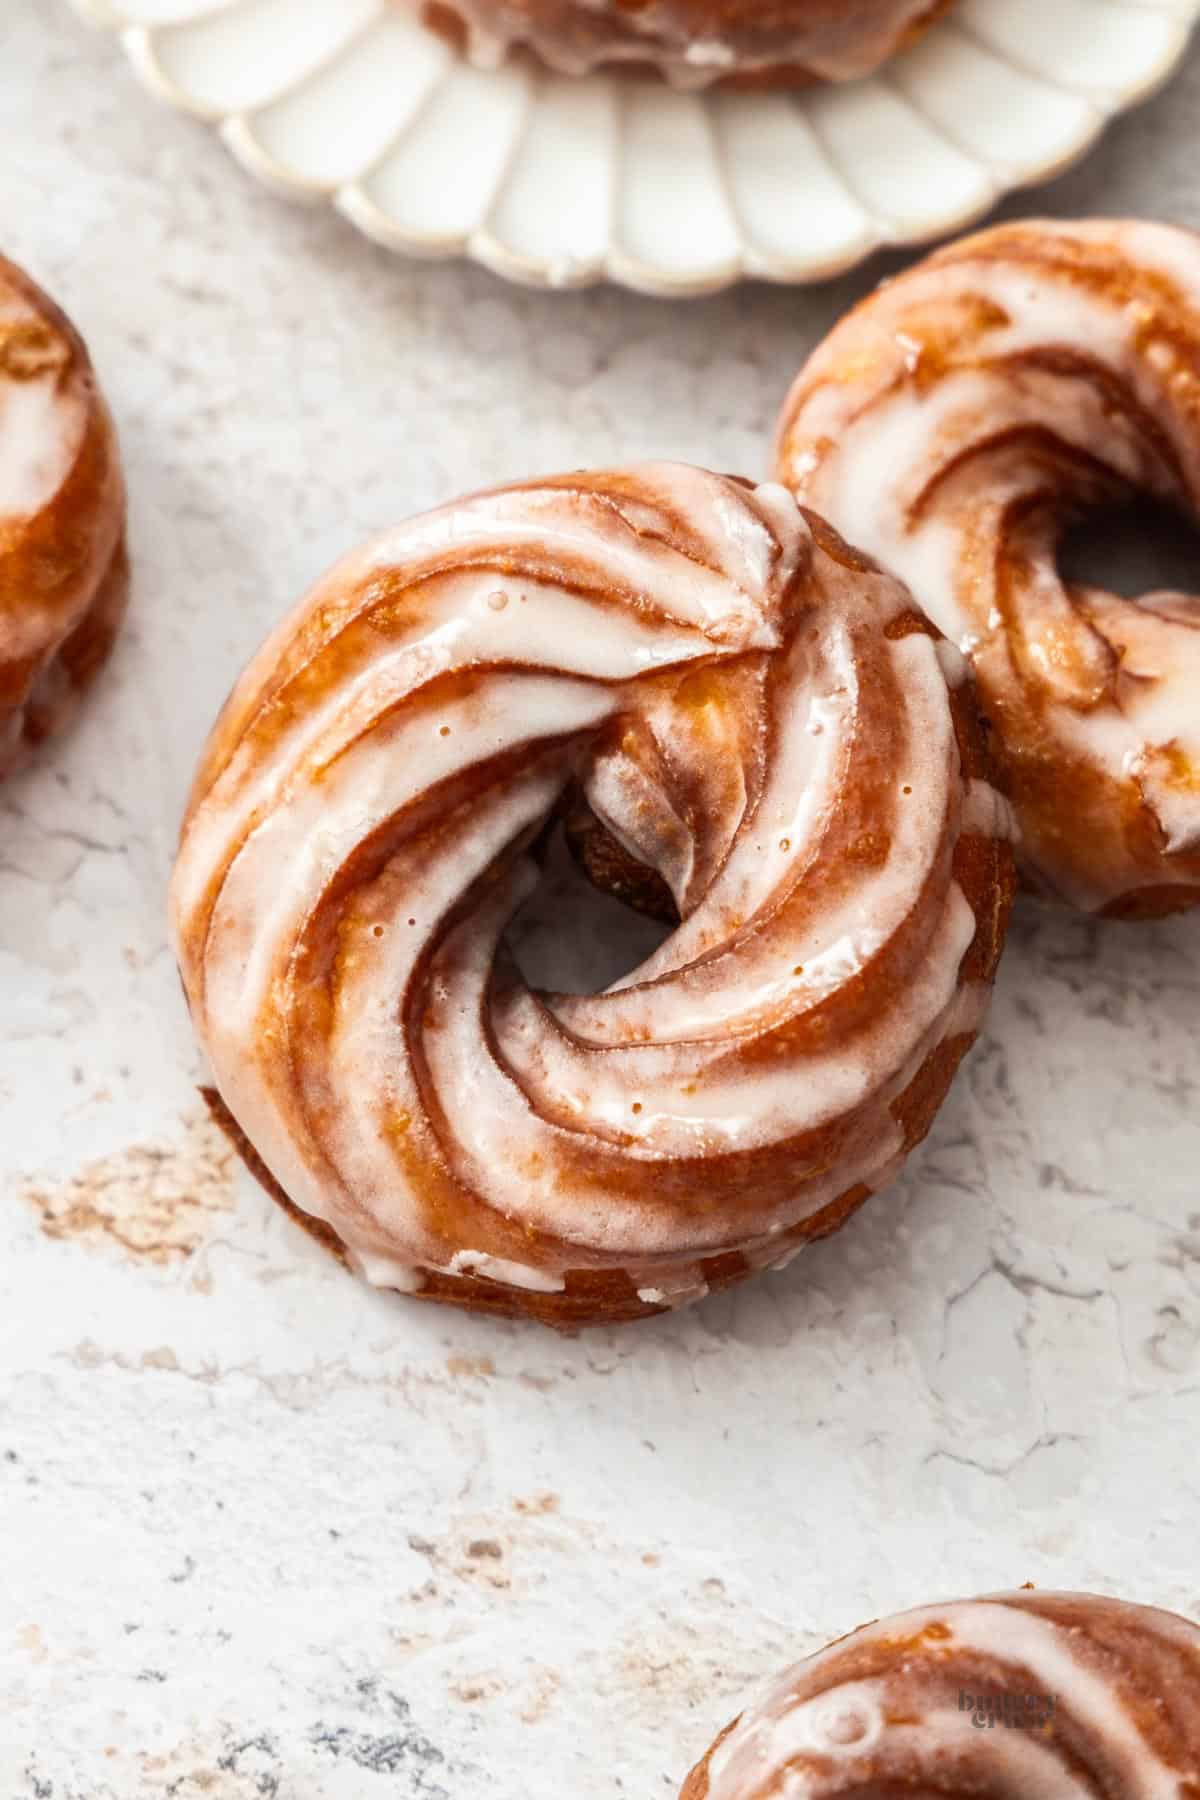
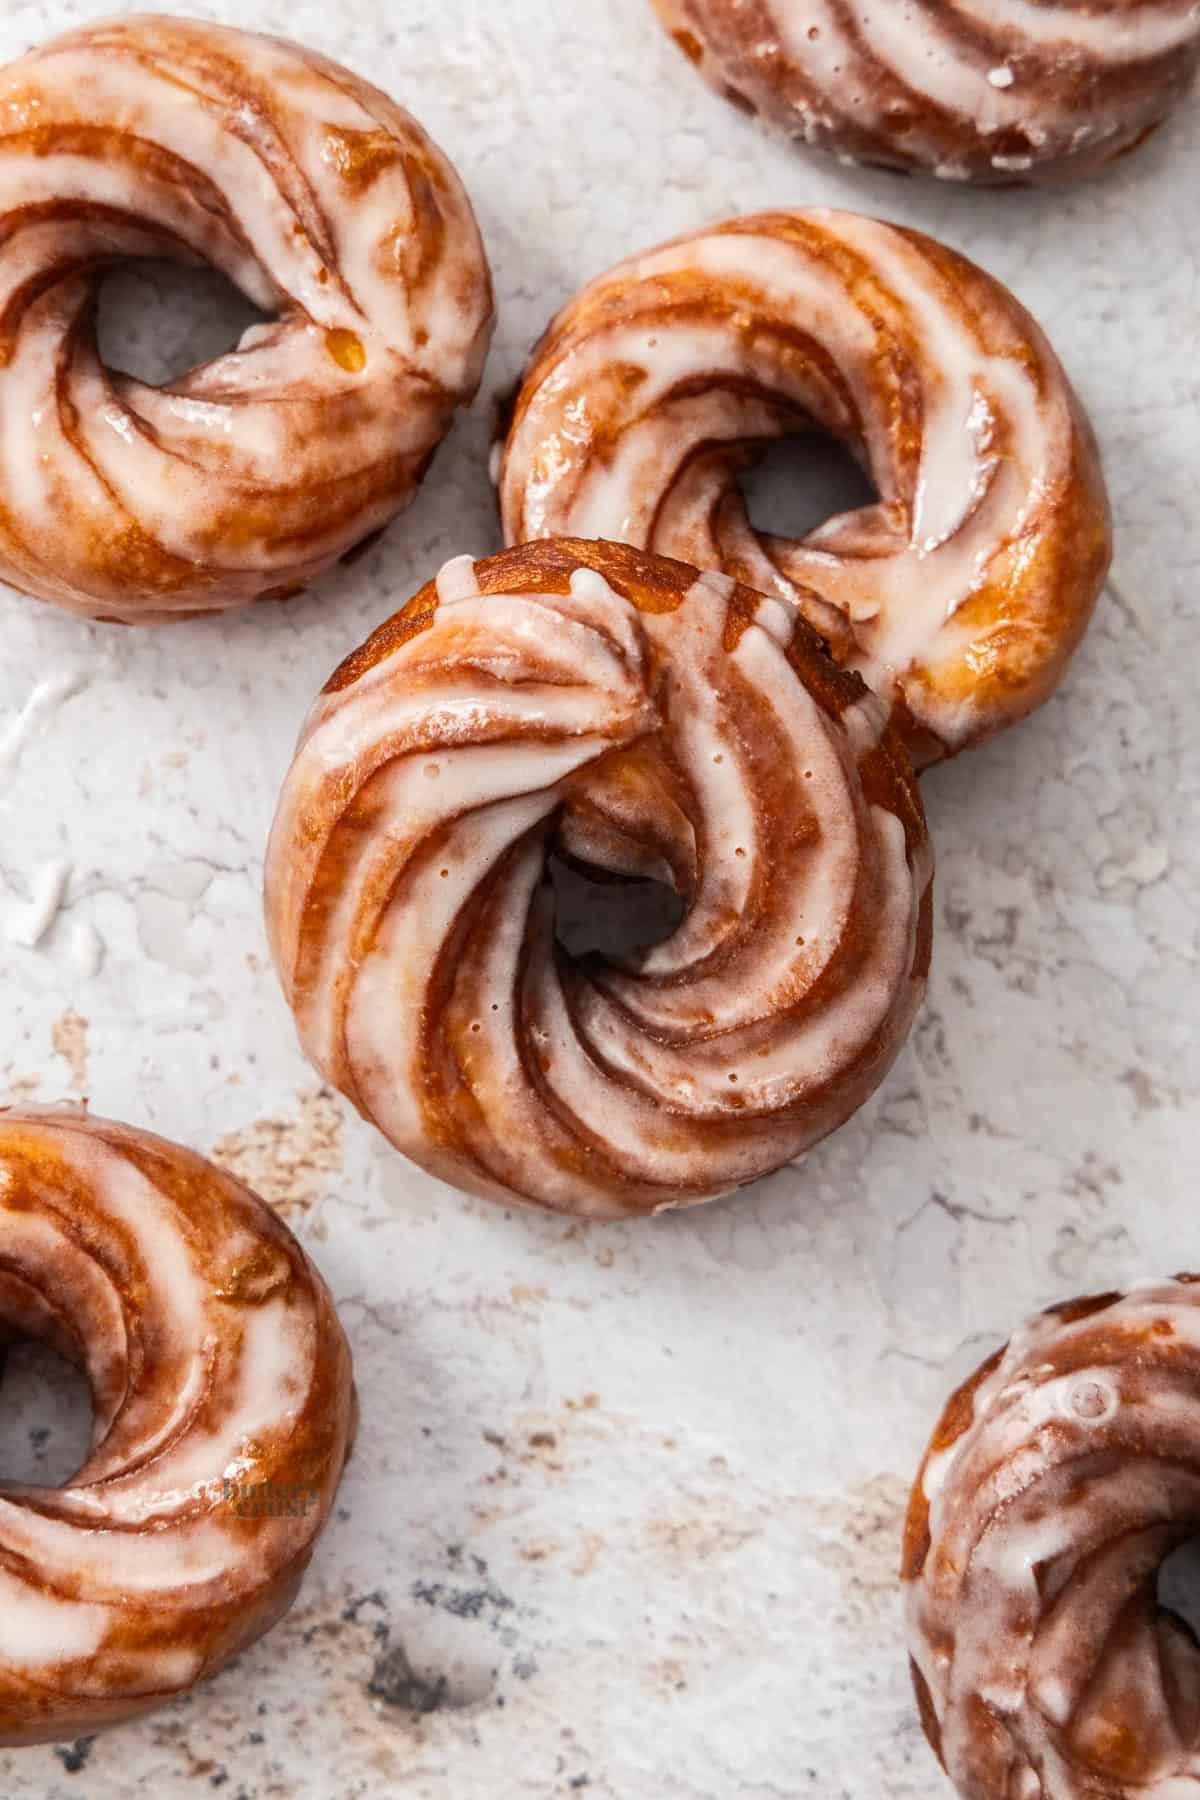
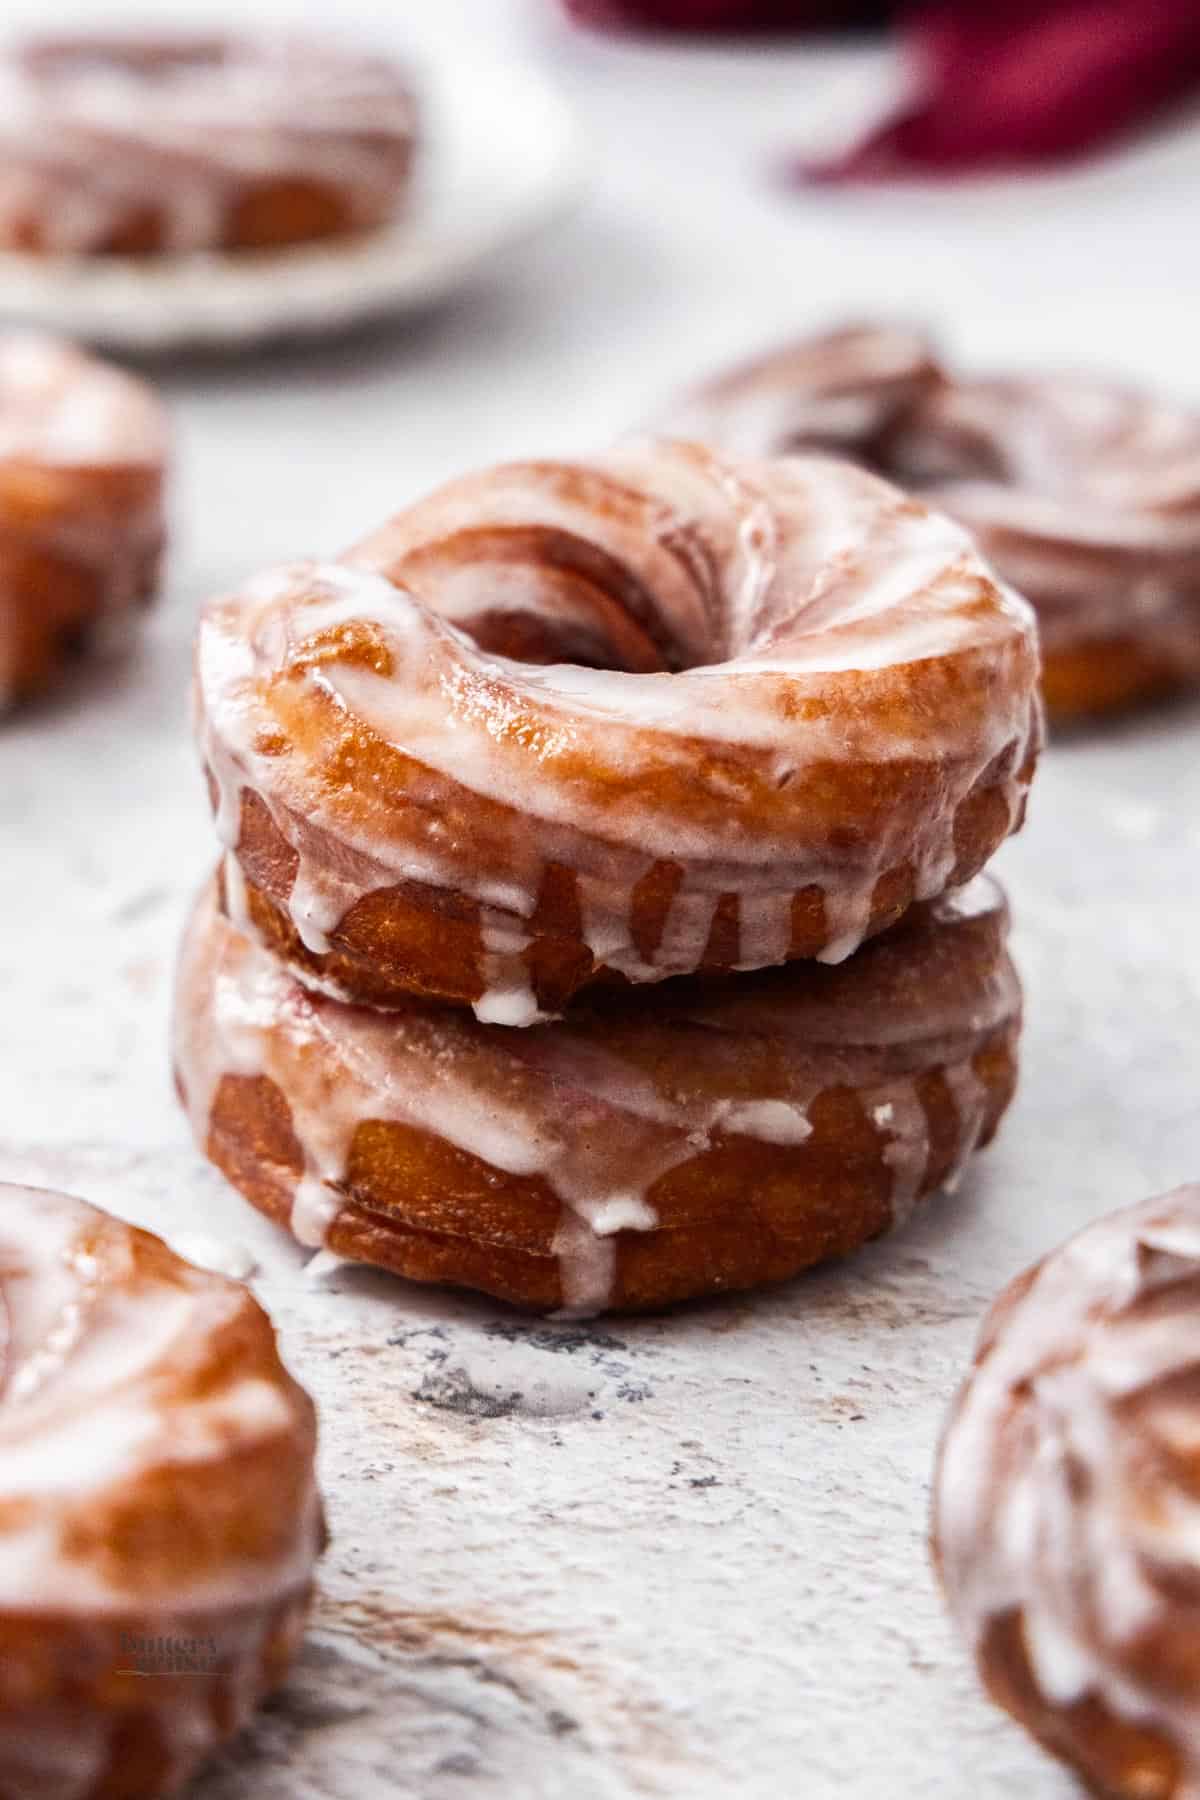
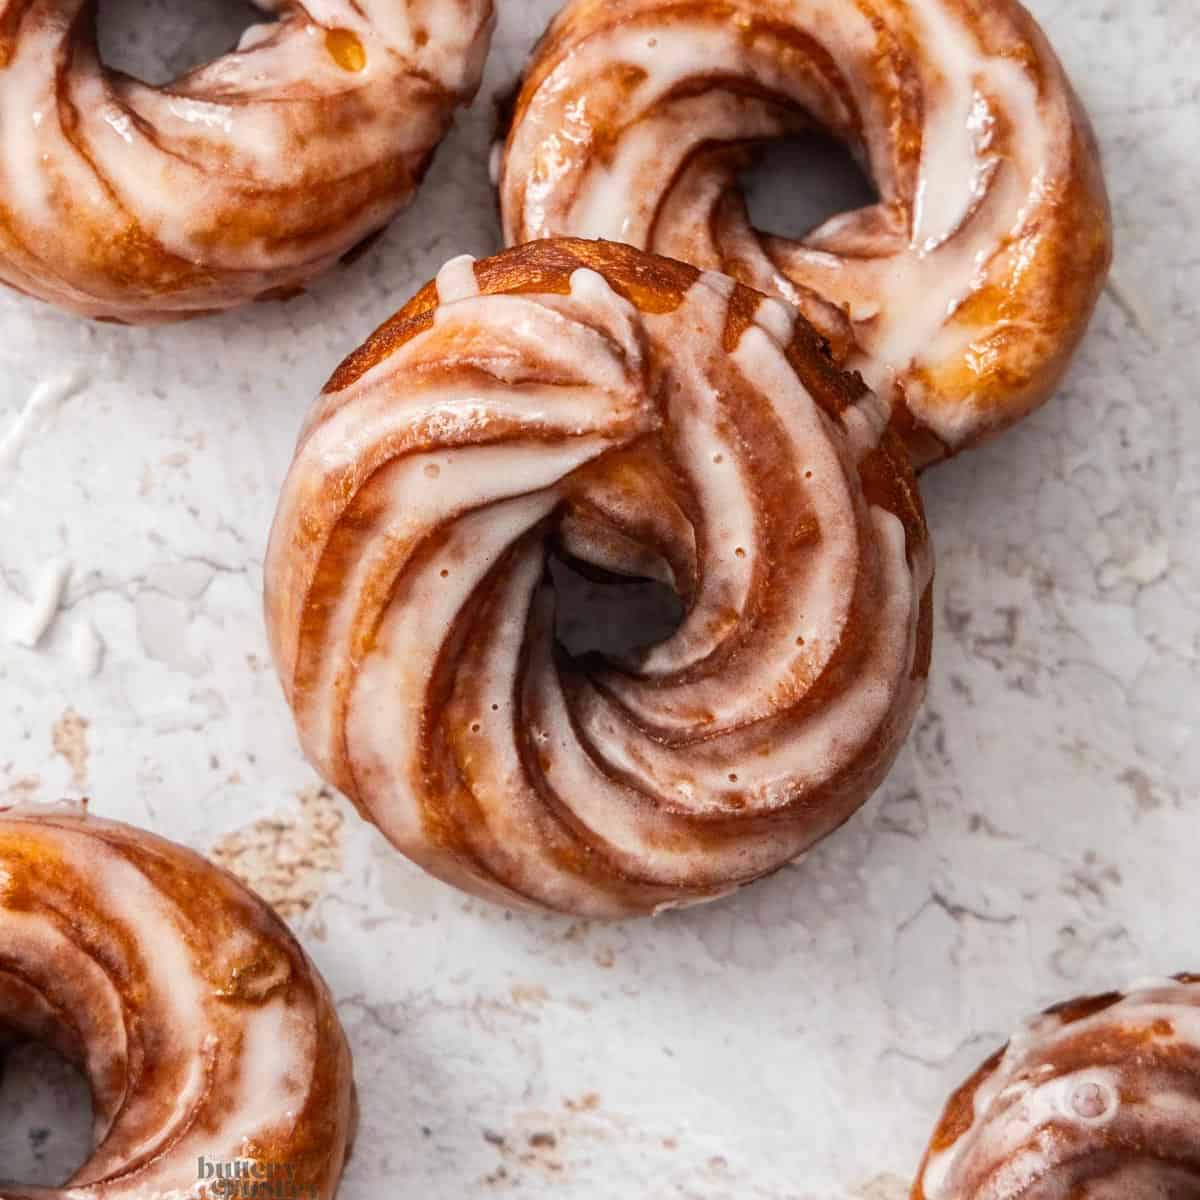
French Crullers are unlike any other doughnut. Made from pate a choux (choux pastry) instead of traditional yeast or cake dough, they fry into delicate rings with crisp golden ridges, and an incredibly light, airy centre. Every bite is slightly crisp on the outside, almost custardy on the inside, and finished with a thin vanilla glaze that cracks ever so slightly as you bite into it. They're elegant enough for a special brunch but simple enough to make whenever you're craving something a little bit different.
Once you understand the basics of making choux pastry, they're surprisingly straightforward. The dough comes together in one saucepan, then they're piped into rings and piped until puffed and golden. I'll walk you through every step to make bakery-worthy French colours at home.
❤️ Why this recipe works
- Perfectly light and airy every time. My fail proof method creates beautifully puffed Crullers with crisp edges and melt in the mouth centres.
- Easy to follow instructions. I break every step down with clear guidance and helpful tips, so even first time choux pastry makers can feel confident.
- Made with simple ingredients. No special ingredients - just everyday staple transformed into bakery-worthy doughnuts.
- Classic vanilla glaze. It's sweet, glossy and sets beautifully.
- Expert troubleshooting tips. From popping your frying, I'll show you how to avoid common mistakes like flat or collapsed Crullers.
Jump to:
What are French Crullers?
Pronounced krull-er (with short 'u' like 'cup'), French crullers are a doughnut made from pate a choux (choux pastry) and fried until golden. They are normally served with a vanilla glaze of are sometimes just dusted with icing sugar.
Despite the name, these French doughnuts are not as straightforwardly French as they sound. They're actually one of a family of pastries. The word cruller comes from the Dutch word "krullen", which means "to curl". The term "French" likely comes from the fact that they are made using French choux pastry.
German Spritzkuchen are more like the modern French crullers but are served with an even thinner glaze (almost just a shine) or a dusting of icing sugar.
Never Miss a Recipe!
Get the latest recipes straight to your inbox!
Ingredients & substitutions
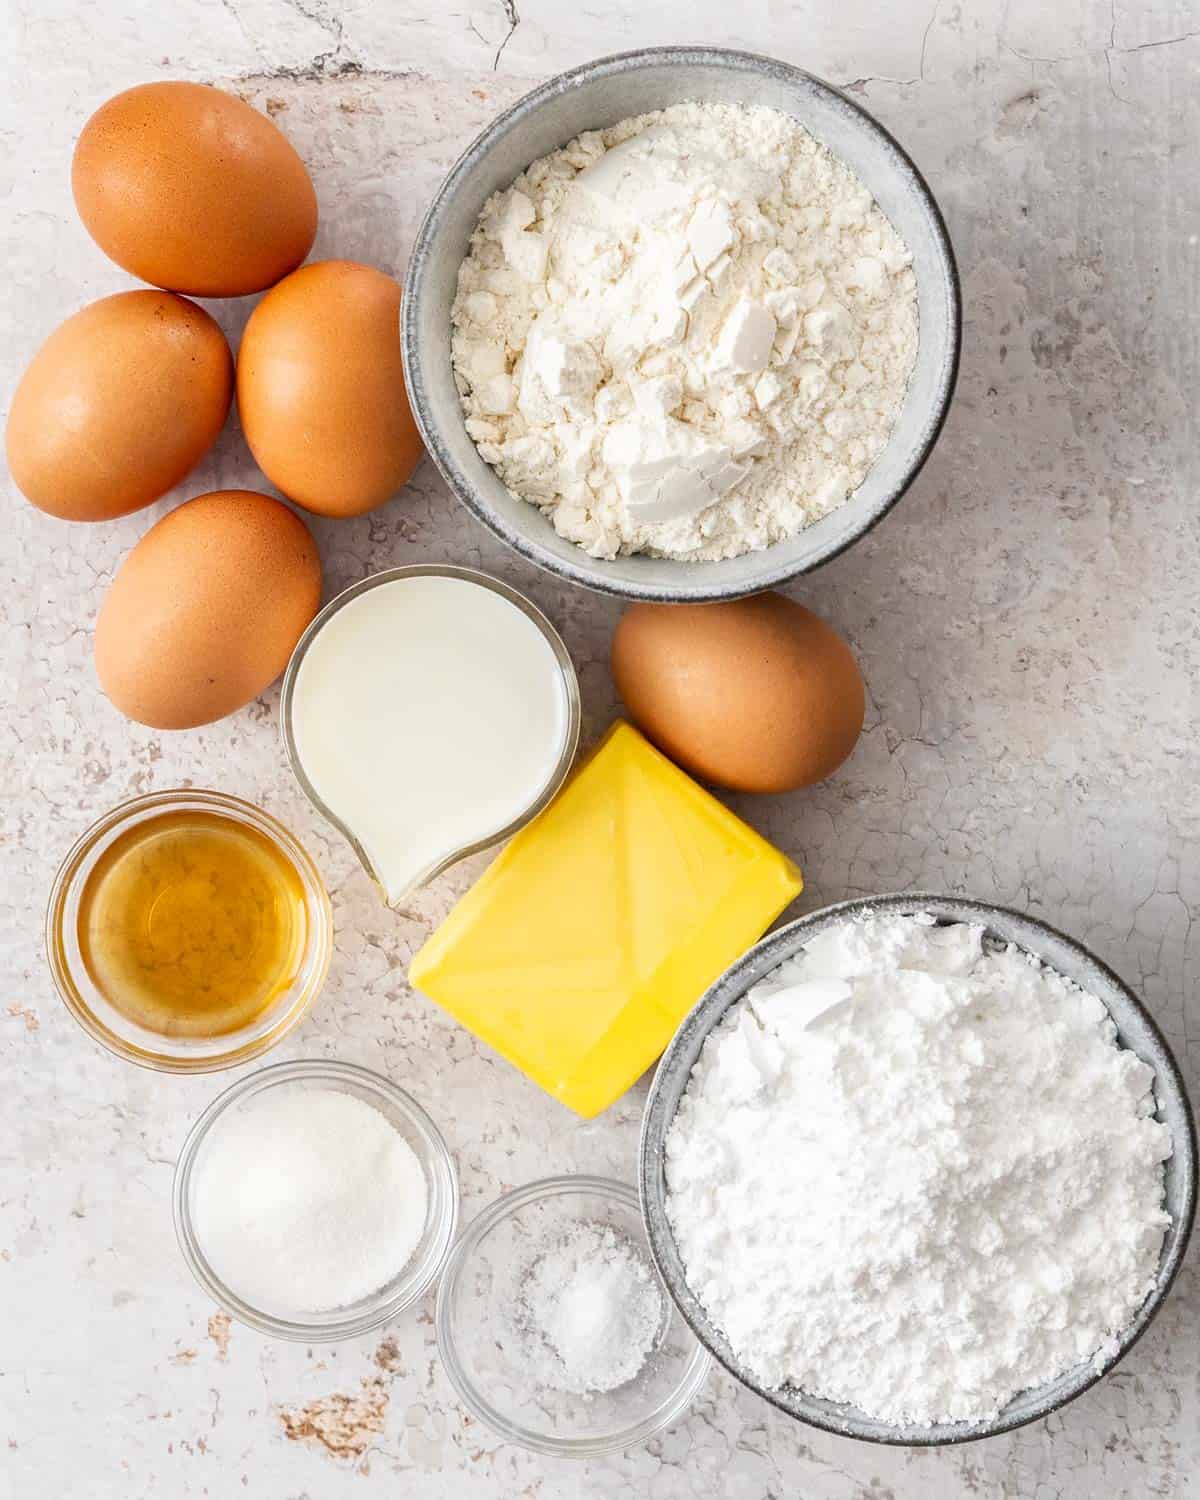
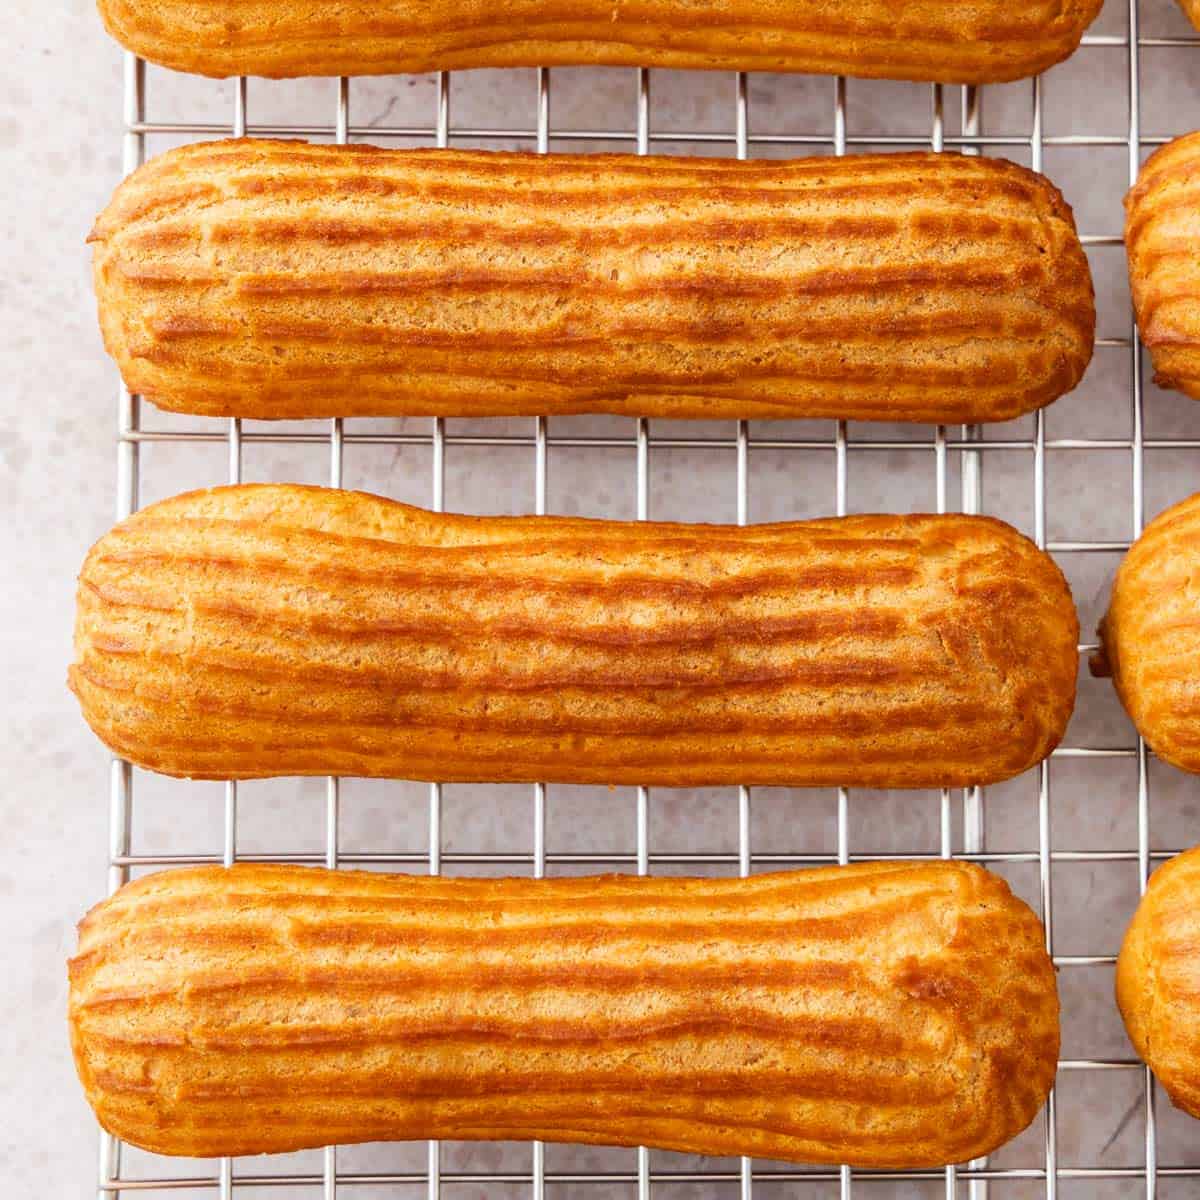
- Bread flour works best for eclairs - it's higher protein content provides better structure and helps to prevent cracks. You can use plain flour / all-purpose flour but you may find you get cracks, especially along the bases.
- Eggs: There is no exact quantity of eggs, as choux pastry goes by texture and consistency, which you'll need to judge by eye. I give you all the tips to do that below, and you'll get better at recognising it as you practice. For the pastry cream, you'll only need the yolks, but you can freeze egg whites and use them later for meringue or pavlova or beat one up and fold it into cake batter for a lighter, fluffier cake.
- Milk and water are used in combination for eclairs. The milk just adds a little richness but too much will make the pastry too soft. Milk is also used in the pastry cream and glaze. Make sure to use whole milk for the best flavour.
- Unsalted butter is the best option here. It contains less water and it also allows you to control the salt level. Since choux is not very sweet at all, it's very easy for it to become savoury if you choose salted butter over unsalted.
- Sugar: Just granulated sugar is fine in the cruller dough but icing sugar (aka powdered sugar) is what you need for the glaze.
- Vanilla extract will give you the best flavour. Vanilla essence is a synthetic flavouring and doesn't have such a good or bold flavour.
How to make French Crullers
I'll break this French crullers recipe down into five simple steps;
- The panade is essentially a thick cooked flour paste. Flour mixed with butter and liquid (water, milk or a combination of the two) is cooked together into a thick dough.
- The eggs are the second stage and add protein, fat and moisture. They enrich the dough and help with the structure.
- Pipe: Transfer to a piping bag and pipe circles onto squares of baking paper.
- Fry: Heat oil in a pan, then add your circles of dough and fry until deep golden brown.
- Glaze: Make the simple vanilla glaze and drizzle it over your doughnuts.
Jump to the recipe card for full quantities and instructions.
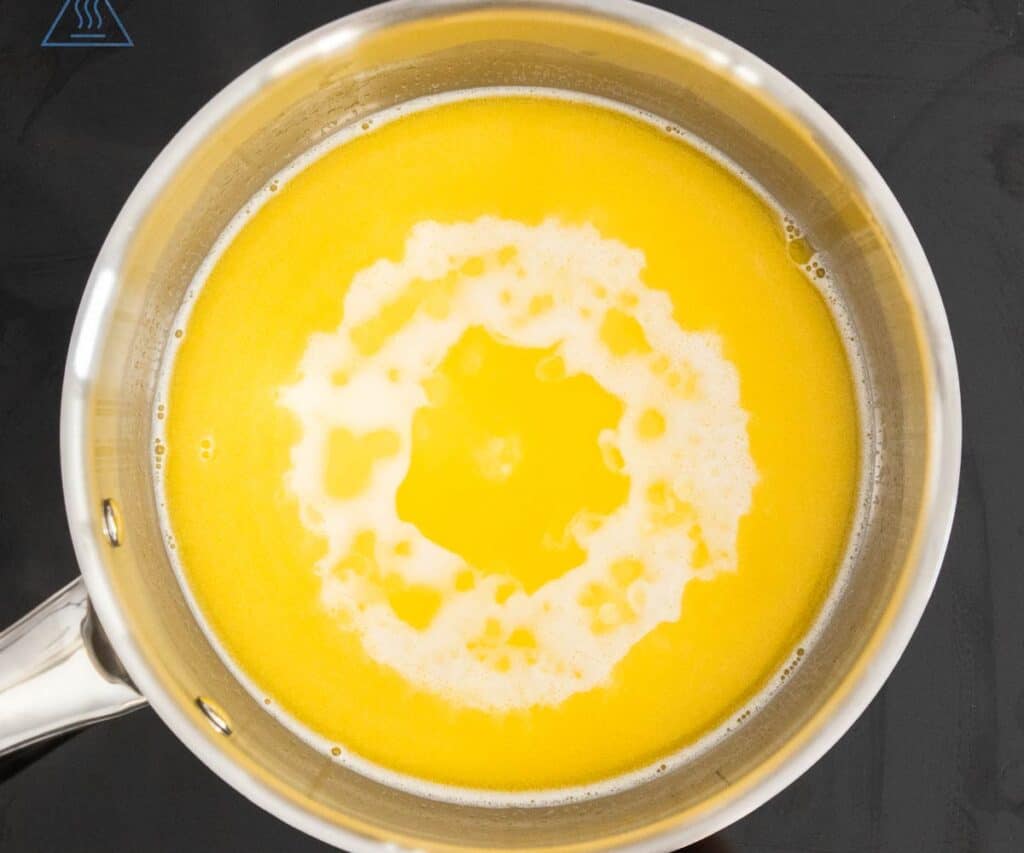
Melt the butter
(2-3 minutes) Start by heating butter, water, milk and sugar in a medium saucepan over medium heat. Stir until the butter melts. Let it come to a bubble and, as soon as you see the first bubbles appear, take it off the heat.
Add the flour
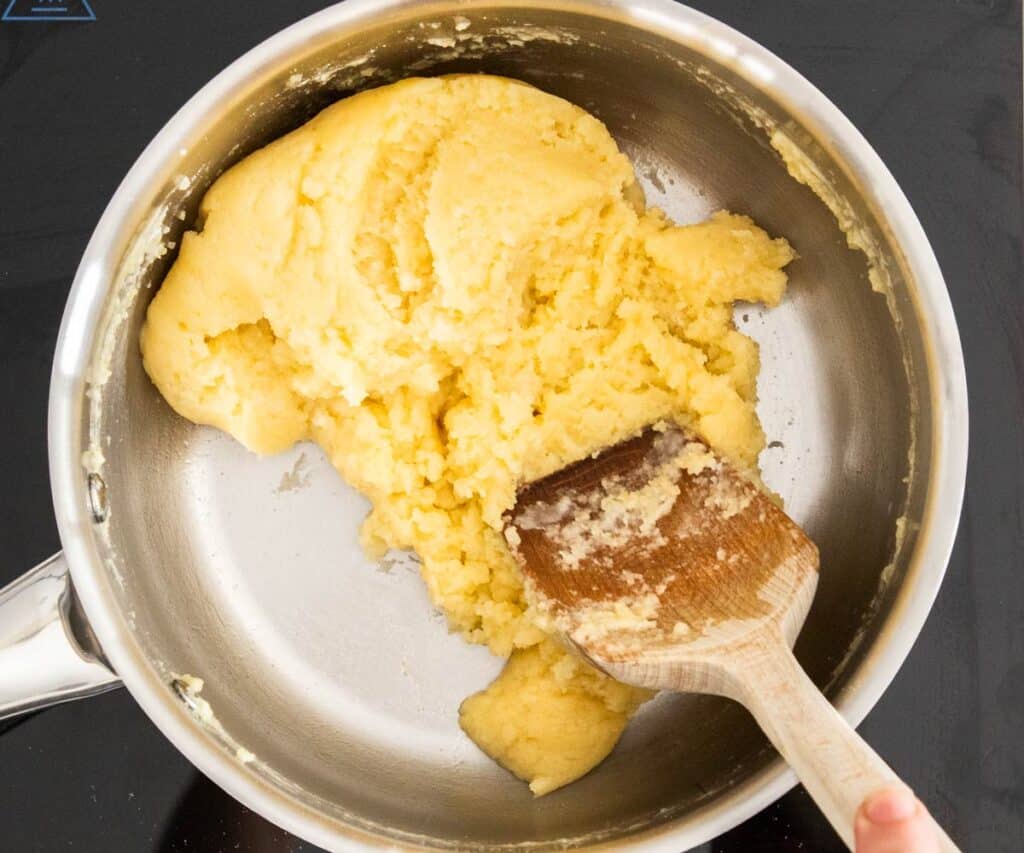
(1 minute) Add the flour and use a wooden spoon or silicone spatula to mix it in.
My preferred option is actually to put the flour into the mixing bowl of the stand mixer, then turn the mixer on low as I pour in the milk. I never find lumps of flour in it this way.
Cook the panade
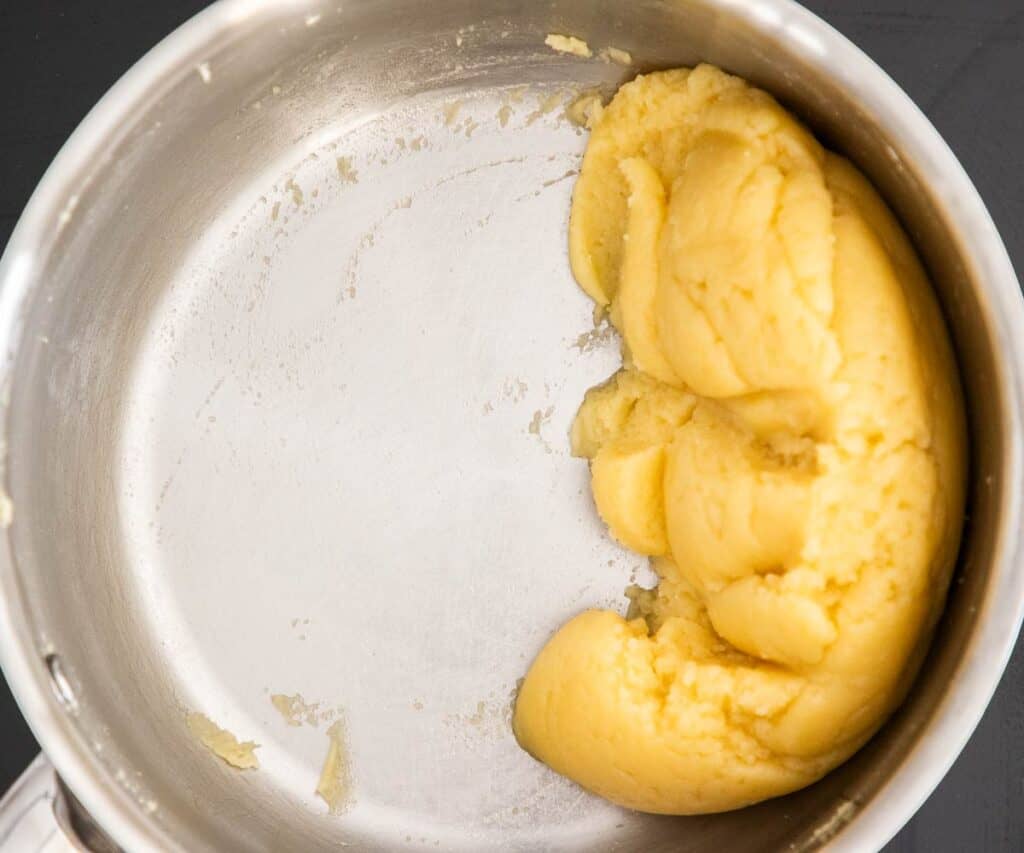
(2 minutes) Return the pan to the stove over low heat and cook, stirring and folding constantly for 2 minutes.
"You'll see a film..."
Some recipes will say "you'll see a film on the bottom of the pan" - unfortunately this leaves it too open to interpretation. The type of pan will affect whether you see that film or not and you might see a film but then how obvious should it be and exactly what does it look like. So, just keep the heat on low and cook for 2 minutes moving the dough around the pan constantly.
Cool the panade
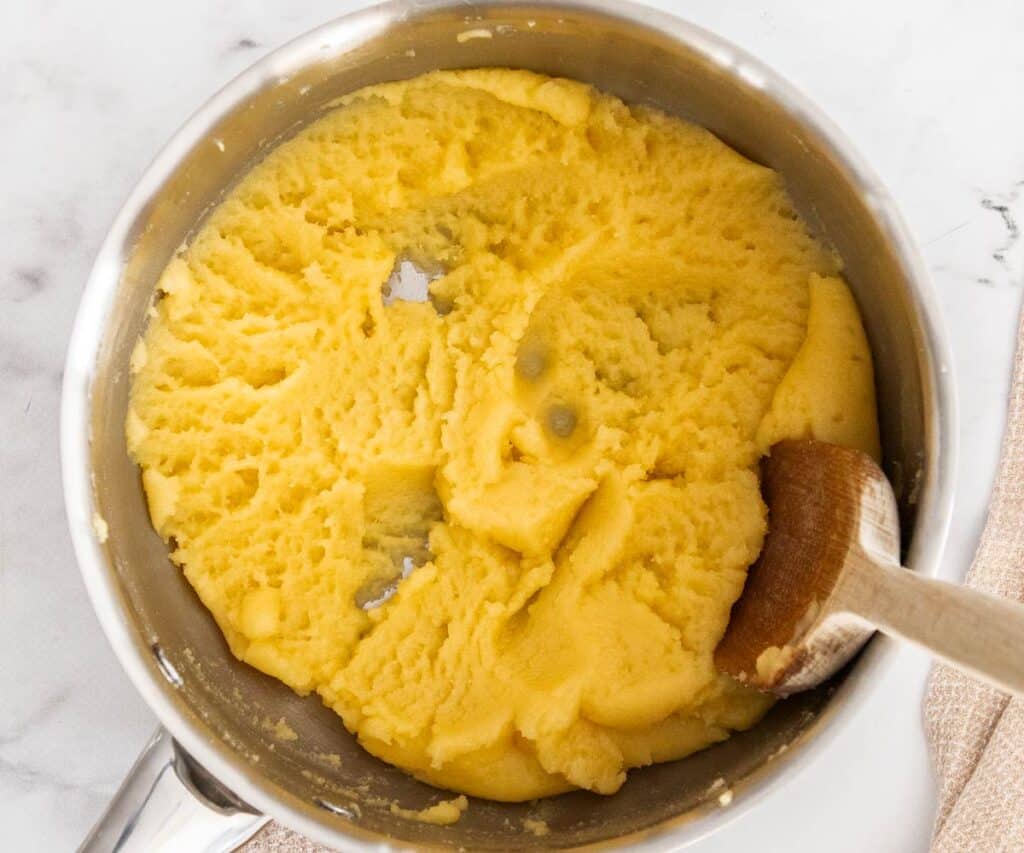
(10 minutes)You only need to cool the dough long enough that the eggs won't scramble when you add them.
By hand: Press the dough out into a flat layer on the base of the pan and let it cool for 10 minutes.
With a stand mixer: Transfer the dough to the stand mixer and press it up the sides of the bowl. Let it cool for 5 minutes.
Add the eggs
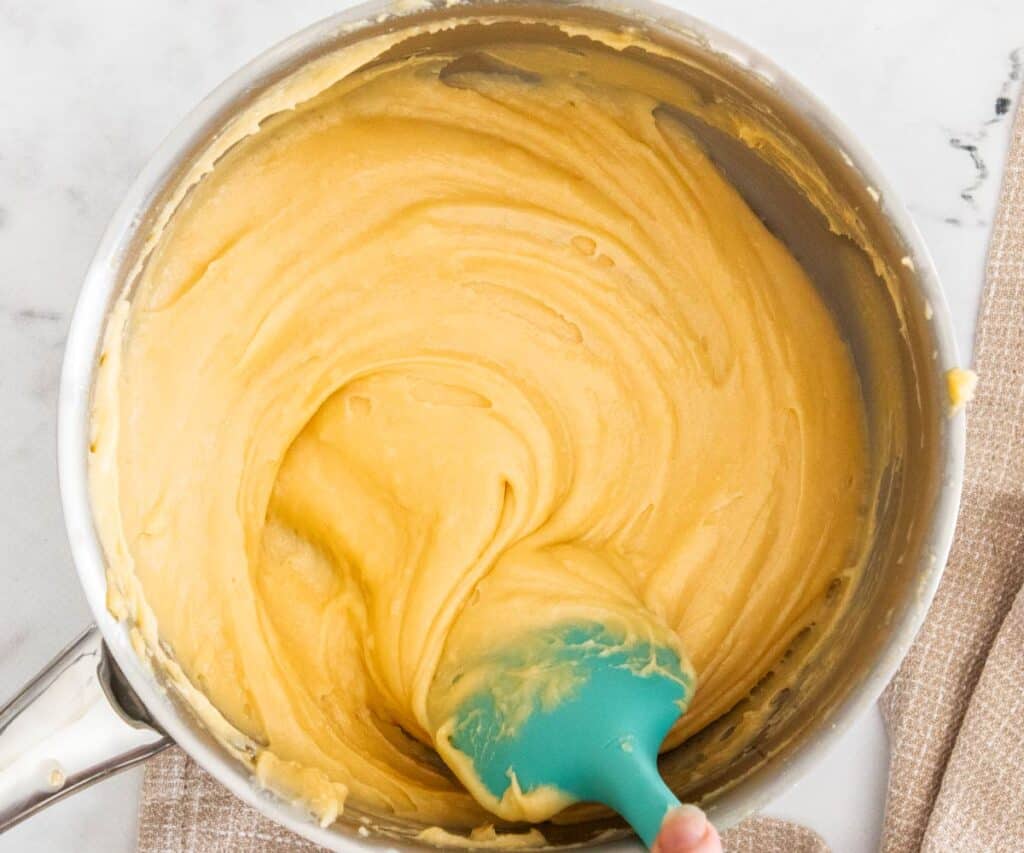
(5 minutes) Lightly beat 4 eggs in a small jug. Add one quarter of the beaten eggs to the dough, then beat with a wooden spoon or on low speed in the stand mixer until it's completely incorporated. Add the next two portions the same way. When you get to the final quarter of the eggs, add them just a little at a time, beating each in until fully incorporated, and the choux dough is ready (see below).
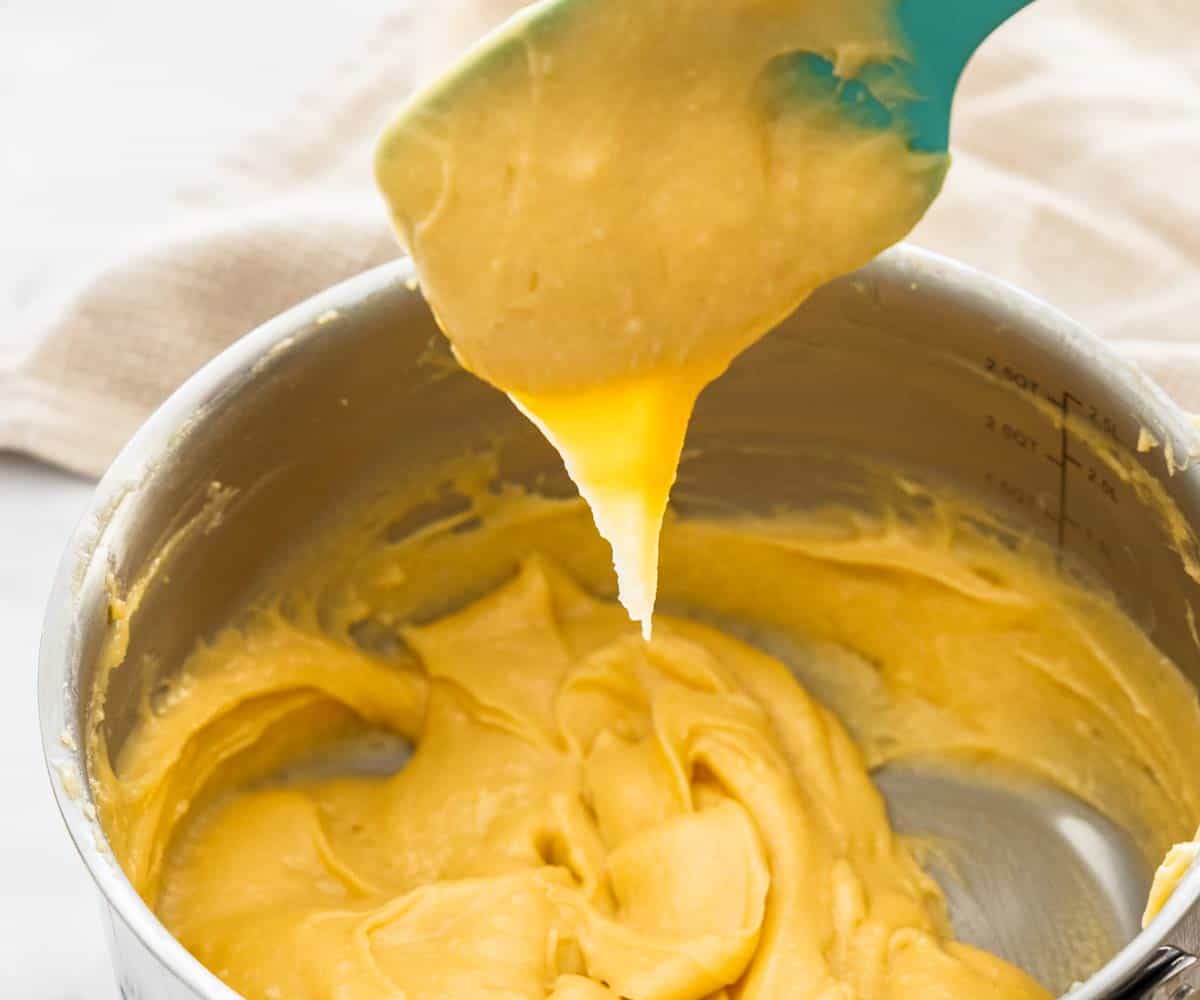
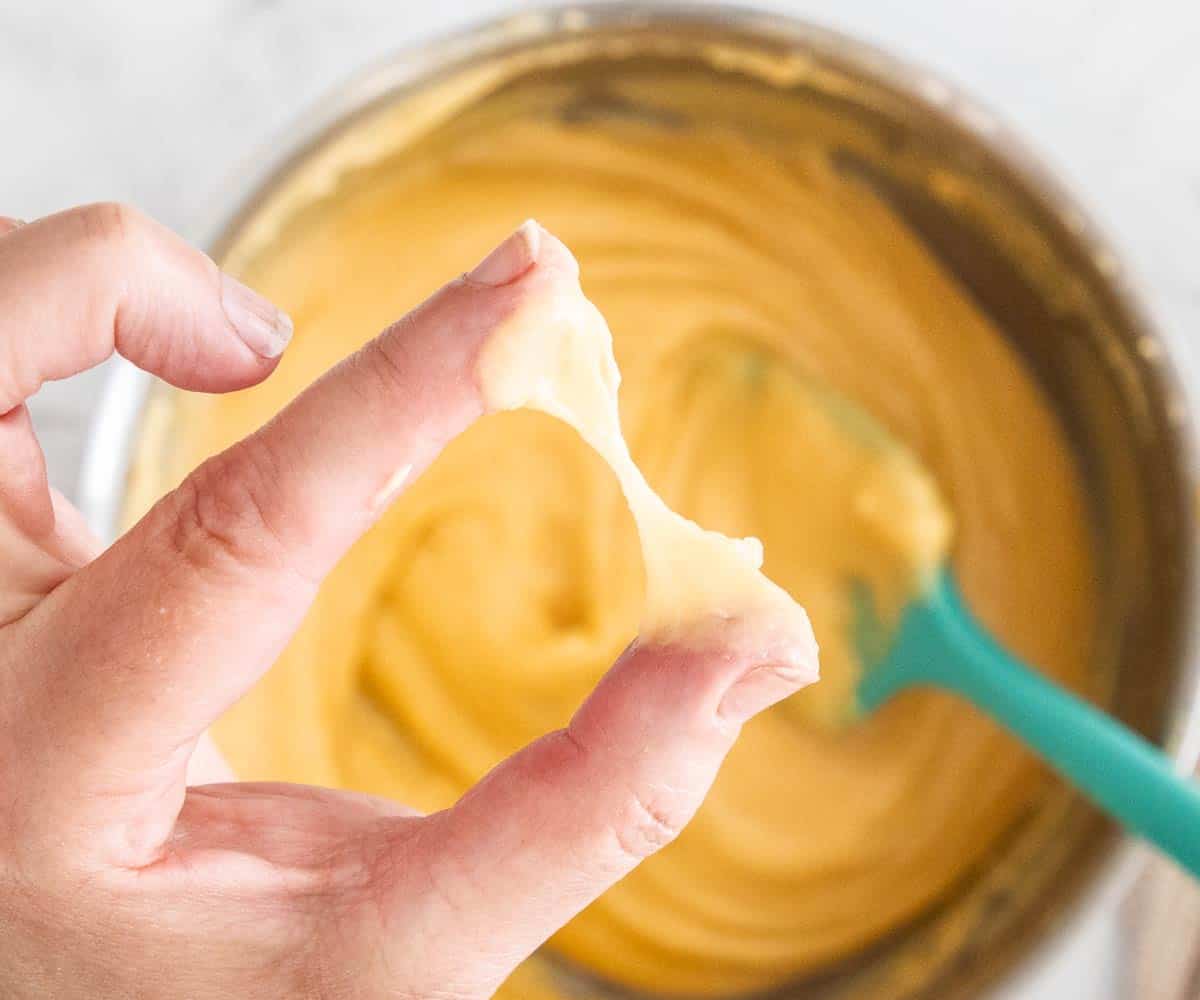
There are a few visual cues to look for to check if your choux pastry is ready;
- Smooth and glossy: The dough will be very smooth and have a slight sheen to it.
- The spoon test: Dip a spoon or spatula into the dough and it should reluctantly fall off the spoon, leaving a "V" of dough hanging.
- The "V" test: As above when you dig the spatula or paddle attachment into the dough then lift it straight up, the dough should form a fairly neat "V".
- The trough test: When you draw a line in the dough with your finger, it should form a trough with straight upright edges and hold the shape.
- Pipeable but holding consistency: It should be fluid enough to pipe but not enough to spread out. You can test this by just dropping a small amount onto a plate with a spoon and seeing his well it holds its shape.
- The pinch test: Pinch a portion of dough (about 1cm / ½ inch thick) between your thumb and finger. Slowly draw your thumb and finger apart - you need to get to 2 inches with at least a string of dough still intact.
Save this post!
No spam, I promise 😊
Transfer to a piping bag
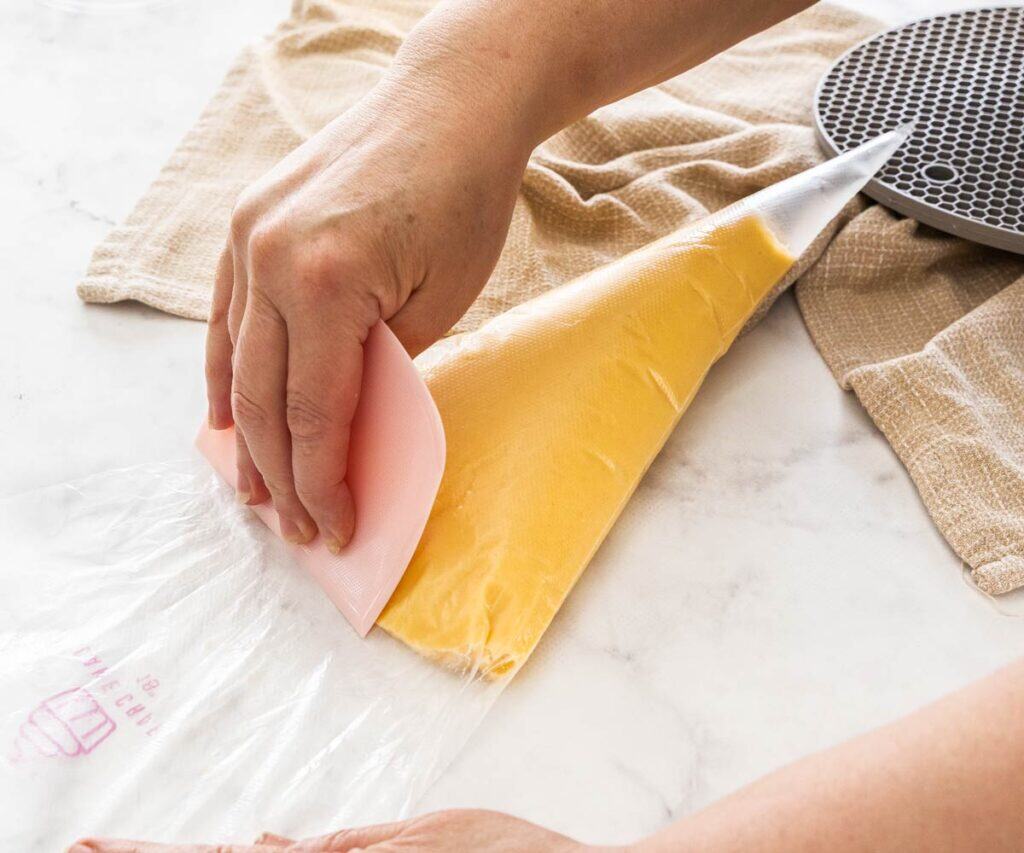
(2 minutes) Place a large open star tip into your piping bag. Sit your piping bag into a tall jug or wide glass and fold the top over the edge. Add your piping tip if using, then simply scrape your choux dough into the bag. Now, lay the bag down and use a dough scraper or bench scraper to push the dough together in the bag to reduce the chance of air bubbles.
Piping crullers
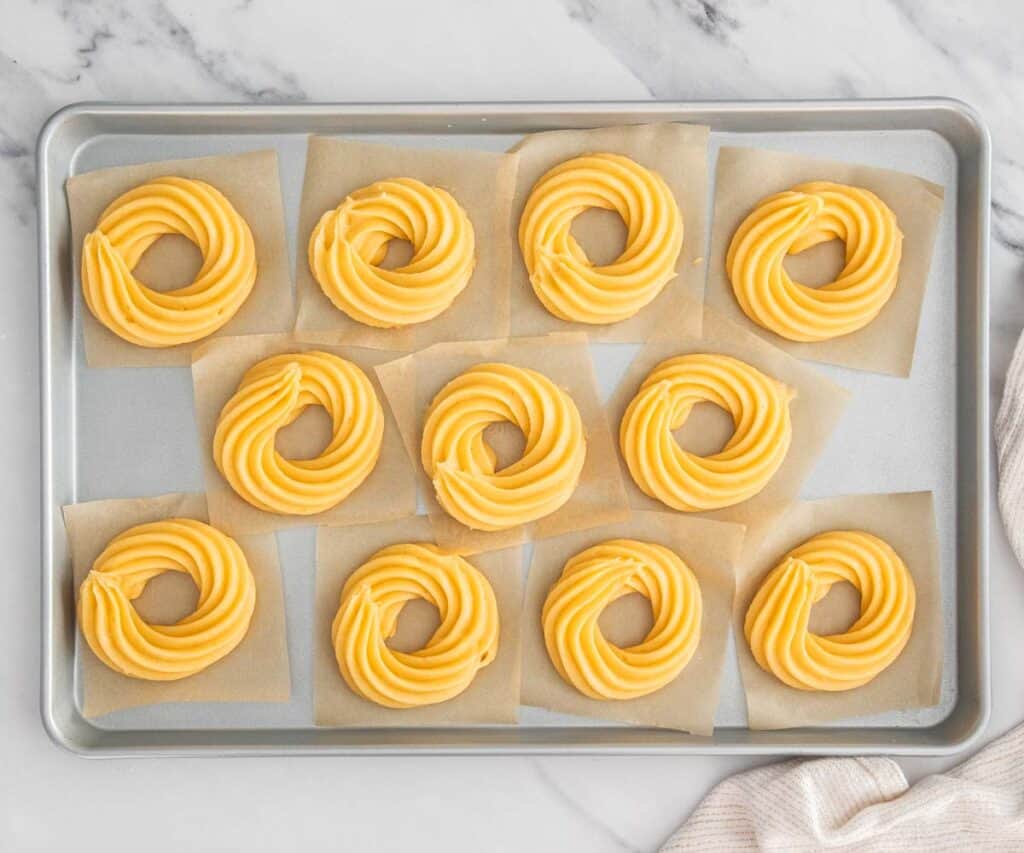
(5 minutes) Pipe 7.5cm/3inch circles of dough onto small squares of baking paper or parchment paper.
Start frying
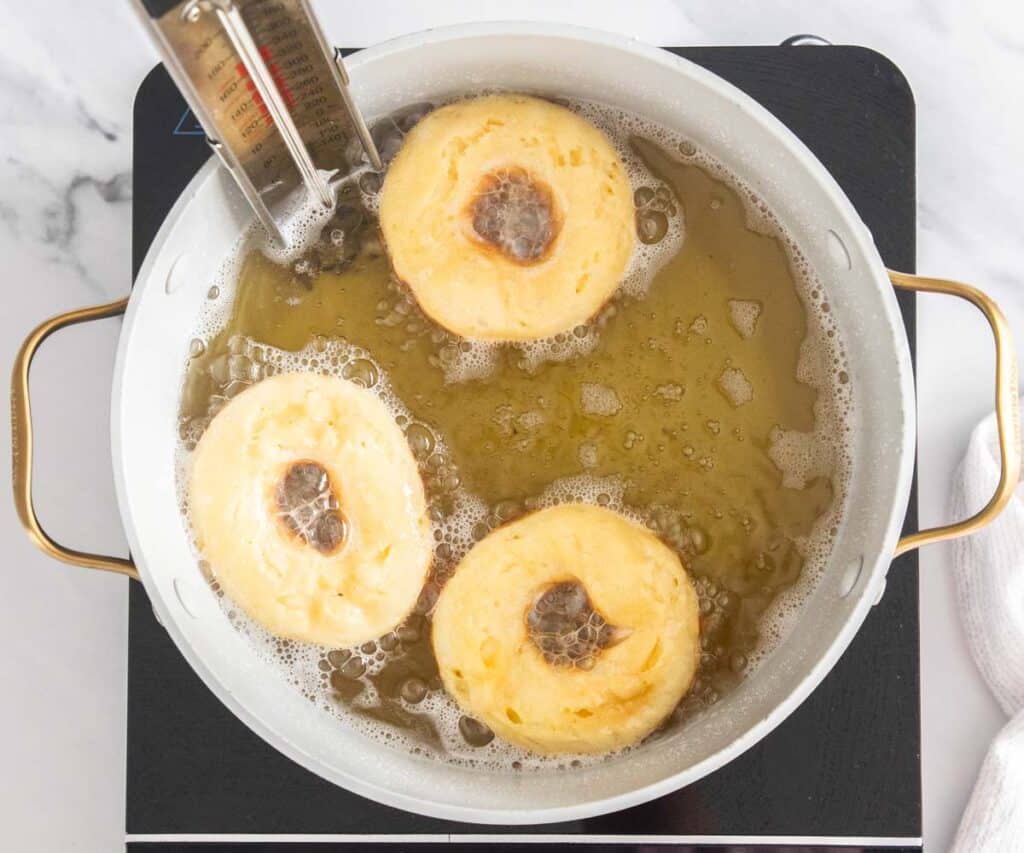
(3 minutes) Heat vegetable oil to 180C/350 and make sure to keep it at that temperature throughout the cooking process.
Add the crullers to the dough using the paper to lower them into the hot oil, pastry side down. Let them fry for 2-3 minutes. Within seconds, you can use tongs to pull away the paper.
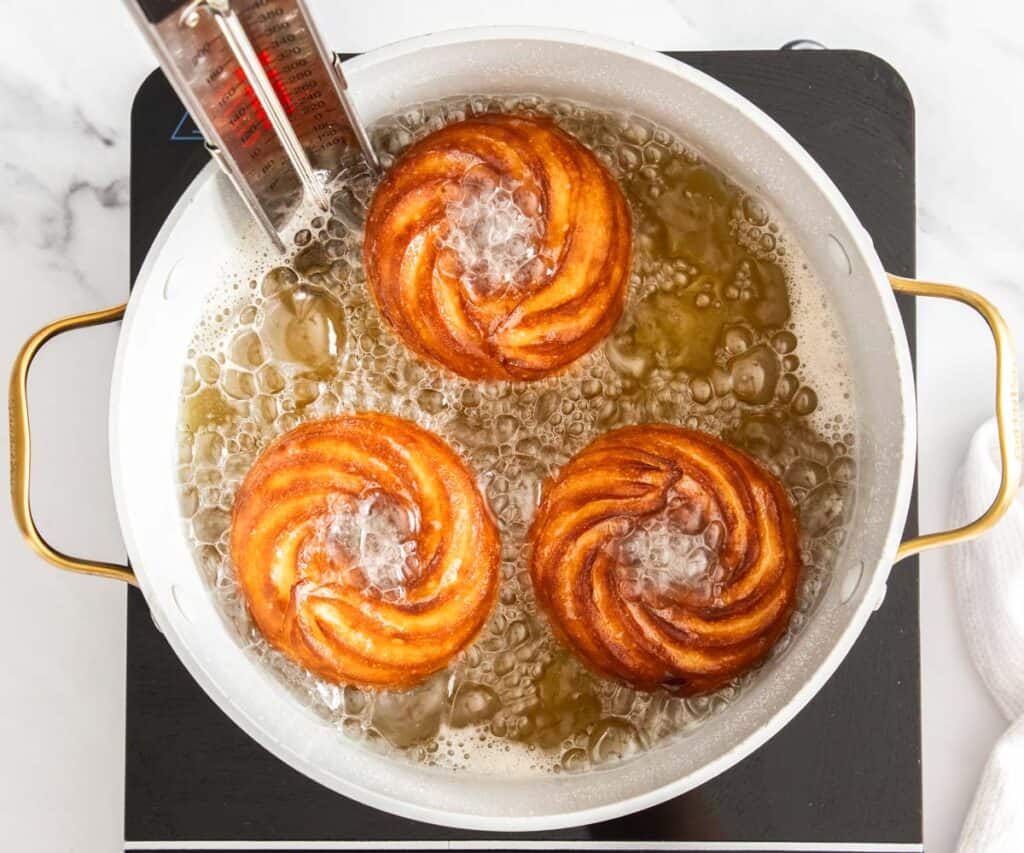
Flip
(3 minutes) Flip them and fry for another 2-3 minutes or until deep golden brown.
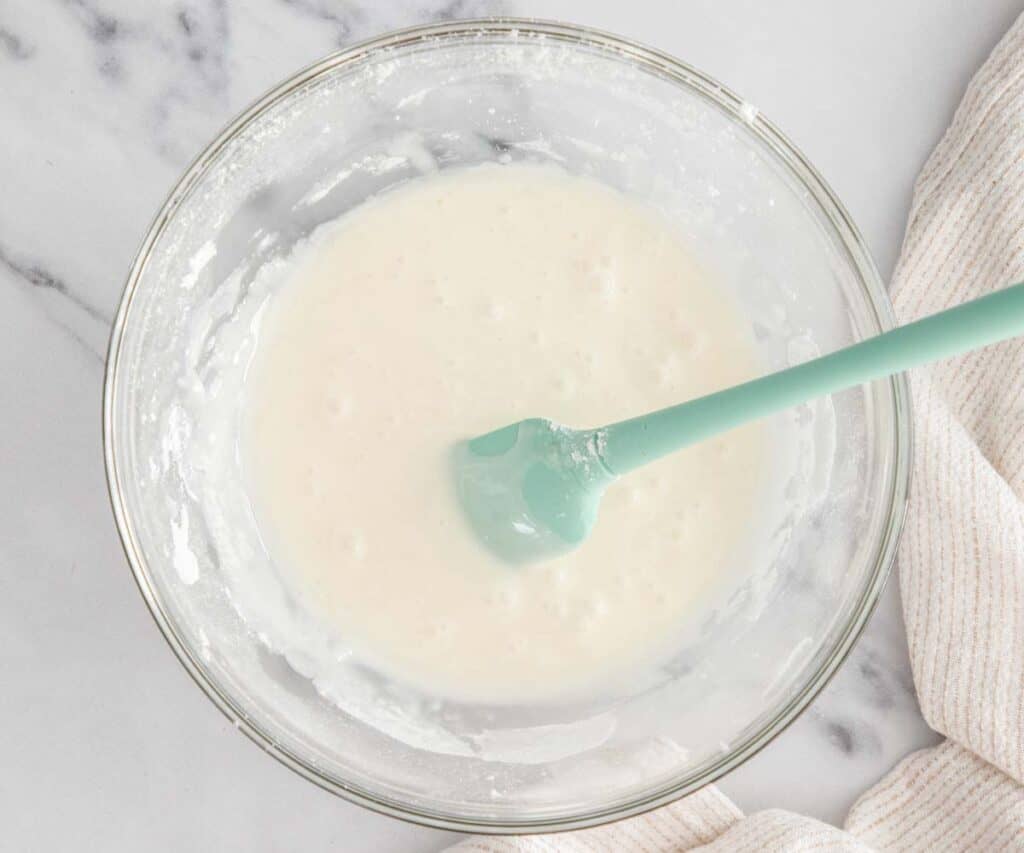
The vanilla glaze
(2 minutes) To make the vanilla glaze, just mix the three ingredients together in a bowl. You'll want to add enough milk, or water, to make it quite loose. Then just dip the warm crullers into the icing and set them aside for a few moments to set.
Troubleshooting choux dough consistency
The amount of eggs you need is dependent on numerous factors including the protein content of the flour you're using, how much moisture was cooked out when making the panade, the exact size of your eggs and even the way you measured your ingredients. This is why it's impossible to give an exact quantity of eggs. So, what do you do if the consistency looks wrong?
- Too firm/dry: Beat another egg and add just a little at a time to the dough/batter beating it in well before adding more. Keep going until you get the right consistency.
- Too loose/wet: Don't add flour as your choux pastries likely won't work out. Part of the process of making choux properly is cooking the flour in the panade stage. This step gelatinizes the starches in the flour making them strong and allowing them to trap steam which creates that lovely hollow centre. If your mixture is too loose, you'll need to make a second batch of panade, then add it a little at a time to your loose mixture, beating it in until you have the right consistency.
Tips and tricks
- Weigh ingredients for the best results. Use a kitchen scale with the ability to change the units to grams. This will give you the very best choux pastry. I prefer not to use cups when baking as just a tiny bit too much of anything can throw off the end result.
- Don't let the liquid mixture boil but instead take it off the heat as soon as you see the first bubbles. This is so you don't lose too much of the liquid through evaporation.
- The easiest way to fill a piping bag is by first placing the piping bag into a tall glass or jug with a wide mouth and folding the top down over the top of the jug. This way, you have both hands to hold the bowl and scrape into your bag. It also means you are less likely to get air bubbles in your mixture.
- All ovens vary: You can do a choux bun or eclair if you like to test exactly what temp and time work for you. Or just make notes with each batch you bake so you can make changes as you need to for your oven. Keep a digital thermometer in your oven to check that it's heating to the correct temperature.
- Use a large open star tip. This will give you large crispy ridges and the points in the tip will help reduce any air bubbles.
- Don't overcrowd the oil. Adding too many doughnuts to the pan will drop the oil temperature too much and cause more steam reducing the chance of nice crispy ridges. A good rule of thumb is to only use ⅔ of the oils surface area.
- Fry until deeply golden to prevent collapse. If they don't get a lovely deep golden brown, the outside is like not firm enough to give them structure.
- Glaze while still slightly warm. This wil help the icing to spread all over the Crullers in a nice thin layer.
- Use baking paper squares for easy transfer. By piping the dough onto squares of baking or parchment paper, you can easily add the doughnuts to the oil.
Tools I use
These are the tools I use with links, in case you need them.
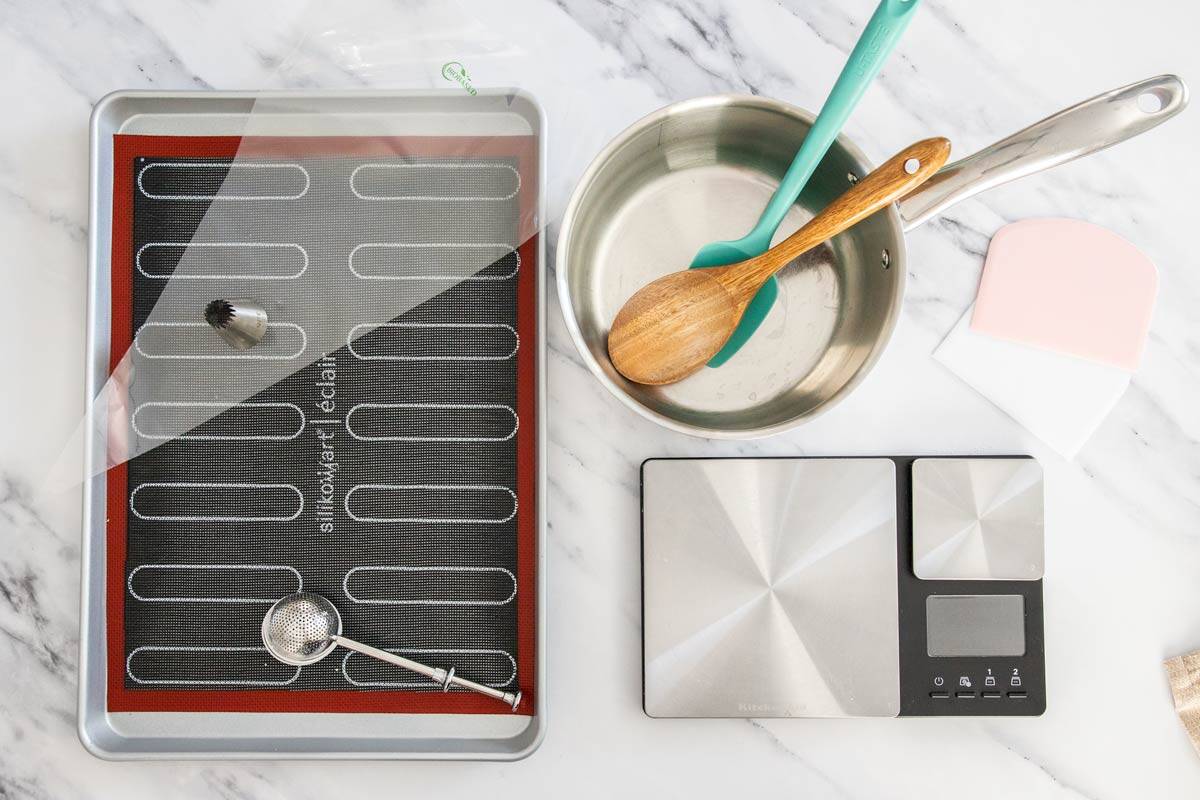
- Medium heavy-based saucepan: The heavy base makes for even heating.
- Stand mixer: I use a Kitchen Aid stand mixer for beating in the eggs. You could also beat the choux by hand. I also find it really handy for beating the flour in before returning the panade to the pan.
- Silicone spatula: So useful for all baking.
- Plastic bench scraper: These are so useful for everything from scraping down the bench to pushing dough down in your piping bag to pressing air bubbles out of the dough before loading it into your piping bag.
- Piping bags: For piping the eclairs.
- Large French star piping tip
- Silicone mats: I get the best results using a perforated eclair mat (which has the eclair outlines) or a plain perforated baking mat.
- Half sheet pans: These are the size I always use for my baking.
- Bismarck piping tip or small star tip.
😥 Troubleshooting
Crullers can look intimidating but they're actually quite simple when you know the basics. These troubleshooting tips will help you build confidence and turn out beautiful, delicious French cruller doughnuts every time.
If your crullers turned out flat, it's most likely because the choux pastry was too loose (too much liquid) or you removed them from the oil before the dough was cooked properly. Choux should be thick, smooth, glossy, and hold its shape when piped. Do not remove them from the oil until they are a deep golden brown on both sides.
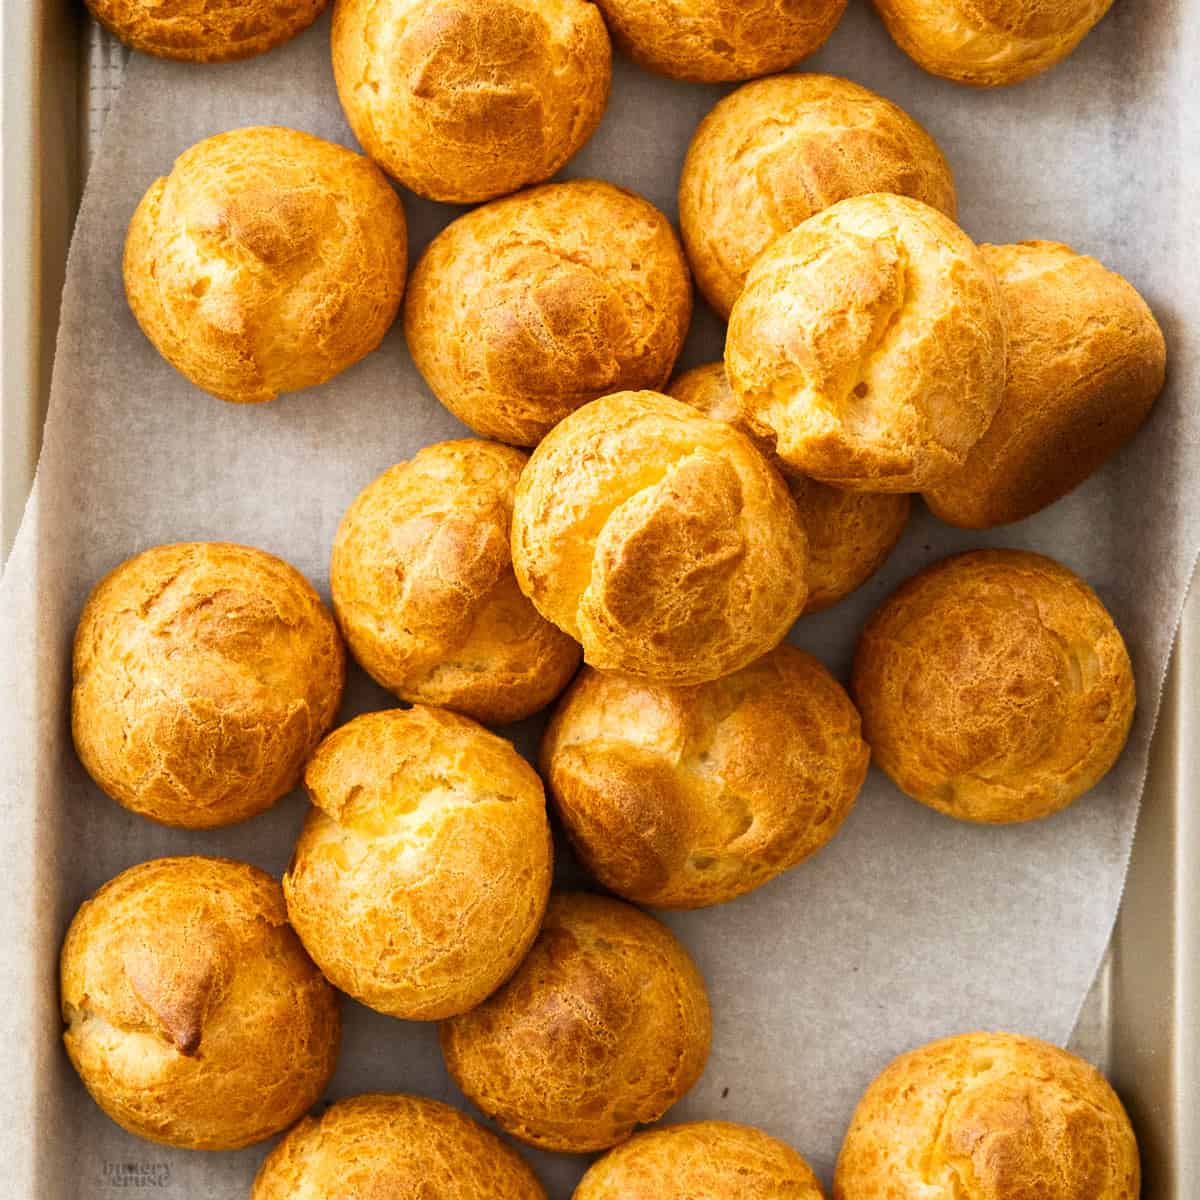
A few small cracks in your French doughnuts are perfectly acceptable but large cracks or blowouts usually come from air bubbles in the dough. Don't beat your choux pastry any higher than the first setting on your mixer. Try to add the dough to your piping bag without adding air bubbles. Using an open start tip helps to remove excess air bubbles.
If the centres are dense and not hollow, the choux may have been too wet or they weren't cooked long enough. Crullers, like all choux pastries, need enough structure to hold a large air pocket so the dough consistency is crucial.
Soft shells are usually a sign of undercooking or too much trapped moisture. Make sure to cook them until deeply golden. They will also naturally soften over time (you can re-crisp them in the oven).
Storage
Room temp
The finished French crullers can sit at room temperature 1-2 days. If there is humidity in your home, you might find the vanilla glaze becomes sticky or melts.
Fridge
The cooked choux doughnuts can be stored in the fridge and will keep for 2-3 days. The shells will soften over time.
If you don't glaze them, you can re-crisp them in the oven at 180C/350F for 8-10 minutes.
Freezer
French crullers can be frozen for up to 3 months in an airtight container. Let them thaw and come to room temperature. They will have softened. You can re-crisp them in the oven at 180C/350F for 8-10 minutes though this is best if they are unglazed.
Variations
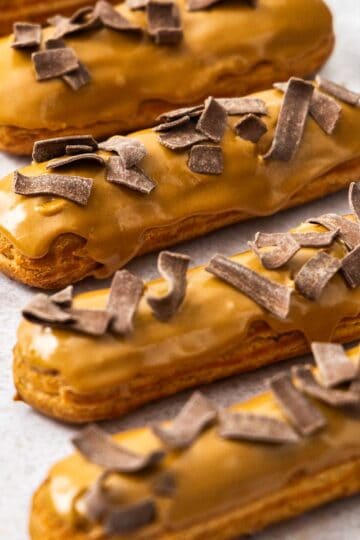
- Filled: Whilst normally empty, you can fill your French crullers, just like you would eclairs, if you like, however at that point, they become a chouxnut. Any flavour pastry cream is lovely.
- Flavoured icing: You can make a very simple icing with any fruit puree and icing sugar. Try topping them with passionfruit icing or blueberry icing. You can also try this coffee glaze.
- Chocolate: Try topping them with melted chocolate or this chocolate glaze.
❓FAQs
Absolutely. You can use melted chocolate or use a chocolate glaze. Or you can try a glaze made using icing sugar and fruit puree.
You can fry the doughnuts up to 3 days ahead and store them in the fridge in an airtight container, unglazed. Re-crisp them in the oven at 180C/350F for 8-10 minutes then glaze them as close to serving as possible for best results.
No. You can make crullers using plain flour (all-purpose flour); however, bread flour gives the crullers more structure, which is helpful given their shape and the fact that we want them to be hollow all the way through.
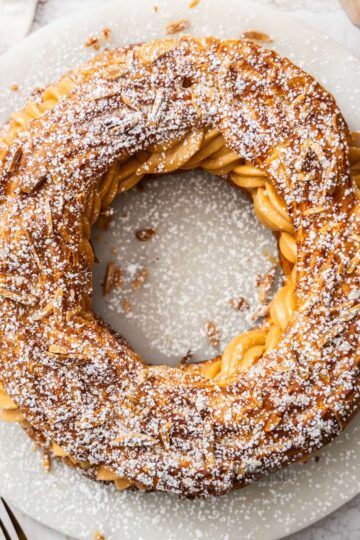
Yes, you can. And if you do fill them, they are now called chouxnuts. If you slice them in half through the middle and fill them, they are now called mini Paris-Brest.
If you made this French Crullers recipe,
be sure to leave a ⭐⭐⭐⭐⭐ rating below. Thank you!
Hungry for more?
- Subscribe to Email, Facebook, Pinterest and Instagram.
- Add TBC to your Google Preferred Sources.
French Crullers
Equipment
- Large heavy based saucepan
- Wooden spoon / rubber spatula
- Large open star piping tip
- Parchment paper / baking paper squares
- Oil thermometer
Ingredients
- 160 ml water (⅔ cup)
- 80 ml whole milk (⅓ cup)
- 115 g unsalted butter (4oz / 1 stick)
- 2 teaspoons white granulated sugar
- ¼ teaspoon salt
- 130 g bread flour (1 cup, spooned and levelled/~4 ½oz)
- 200-230 g eggs (7-8oz / 4-5 large eggs, see notes)
FOR THE ICING
- 1 ½ cups icing sugar (powdered sugar) (195g / ~7oz)
- 1 ½ teaspoons vanilla extract
- 6-8 teaspoons milk
Instructions
- MAKE THE PANADE:Combine the water, milk, butter, sugar and salt in saucepan and heat over medium stirring to melt the butter, then allow it to start to bubble.
- Once you see the first bubbles, turn the heat off. Sift in the flour and stir in with the spatula until fully combined.
- Place the pan over low heat and cook for 2 minutes, moving constantly. Fold it over itself then press it out across the pan and repeat for 2 minutes.
- COOL THE PANADE:If using a stand mixer: Transfer the dough to a stand mixer with a paddle attachment and beat on low for 2 minutes.
- If making by hand: Press the dough out flat over the base of the pan and leave it to cool for 5-10 minutes until it's no longer hot (warm is fine).
- ADD EGGS:Lightly beat 4 eggs together in a jug.
- Add a quarter of the eggs to the panade with one of these 3 methods;
- In the stand mixer with paddle attachment and mix on low.
- Beat by hand, directly in the saucepan with a silicone spatula or wooden spoon.
- Use a handheld mixer on low.
- Continue by adding another quarter of the eggs, beating until fully incorporated. Repeat with the third quarter of eggs.
- With the last quarter of the eggs, add them a little at a time until you have a smooth, shiny dough. It should reluctantly fall from the spoon leaving a "V" shape hanging from it. It should be quite soft, not thick or dry looking.
- Once the dough is the right consistency, transfer it to a piping bag fitted with a large open star piping tip.
- For the neatest eclairs, I recommend letting the dough rest for 30 minutes at this point. The dough will thicken slightly as it rests
- PREP FOR COOKING:Fill a medium or large saucepan with vegetable oil about 2 inches deep and place an oil thermometer on the side. Heat over high heat to 180C/350F.
- PIPE THE CRULLERS:Line a baking sheet with a thick layer of paper towel and cut out 10-12 squares of baking paper just over 7.5cm/3in wide.
- Pipe 10-12 rings of dough on the squares of paper about 7.5cm/3in wide.
- When the oil reaches 180C/350F, place 2-3 of the crullers into the hot oil, paper side up (they'll stick to the paper so just very gently lower them in). Use tongs to remove the pieces of paper and cook for 3-4 minutes each side (gently flip them half way through), keeping the oil at 180C/350F.
- Transfer to the paper towel and repeat with the rest making sure the oil is always at the right temperature before and during cooking.
- MAKE THE ICING:Combine the icing sugar, vanilla and half the milk in a small bowl. Mix well, then add the remaining milk slowly and just until you have a fairly loose pouring consistency.
- Dip the warm crullers in the icing and leave them to set slightly before serving.
- Please take a moment to rate this recipe. I really appreciate it and it helps me create more recipes.
Notes
- How many eggs? With choux pastry, the texture is best judged by eye, not by the quantity of eggs. Add the eggs until the dough is at the right texture. For me, it's between 4-5 large eggs, but the amount you require will be determined by many variables - egg size, amount of moisture cooked out of the panade, protein content of flour and even humidity in the air.
- Store baked crullers in an airtight container in a cool place, like the pantry for 2 days or fridge for 3-4 days. They can also be frozen for up to 3 months in an airtight container.
- They are only crispy straight after frying and will begin to gradually soften. You can re-crisp them in an oven, as long as they aren't iced, preheated to 180C/350F for 7-10 minutes.
- It's best not to glaze crullers if you aren't going to eat them straight away. This will allow for more storage options and for crisping them up in the oven later.

Comments
No Comments